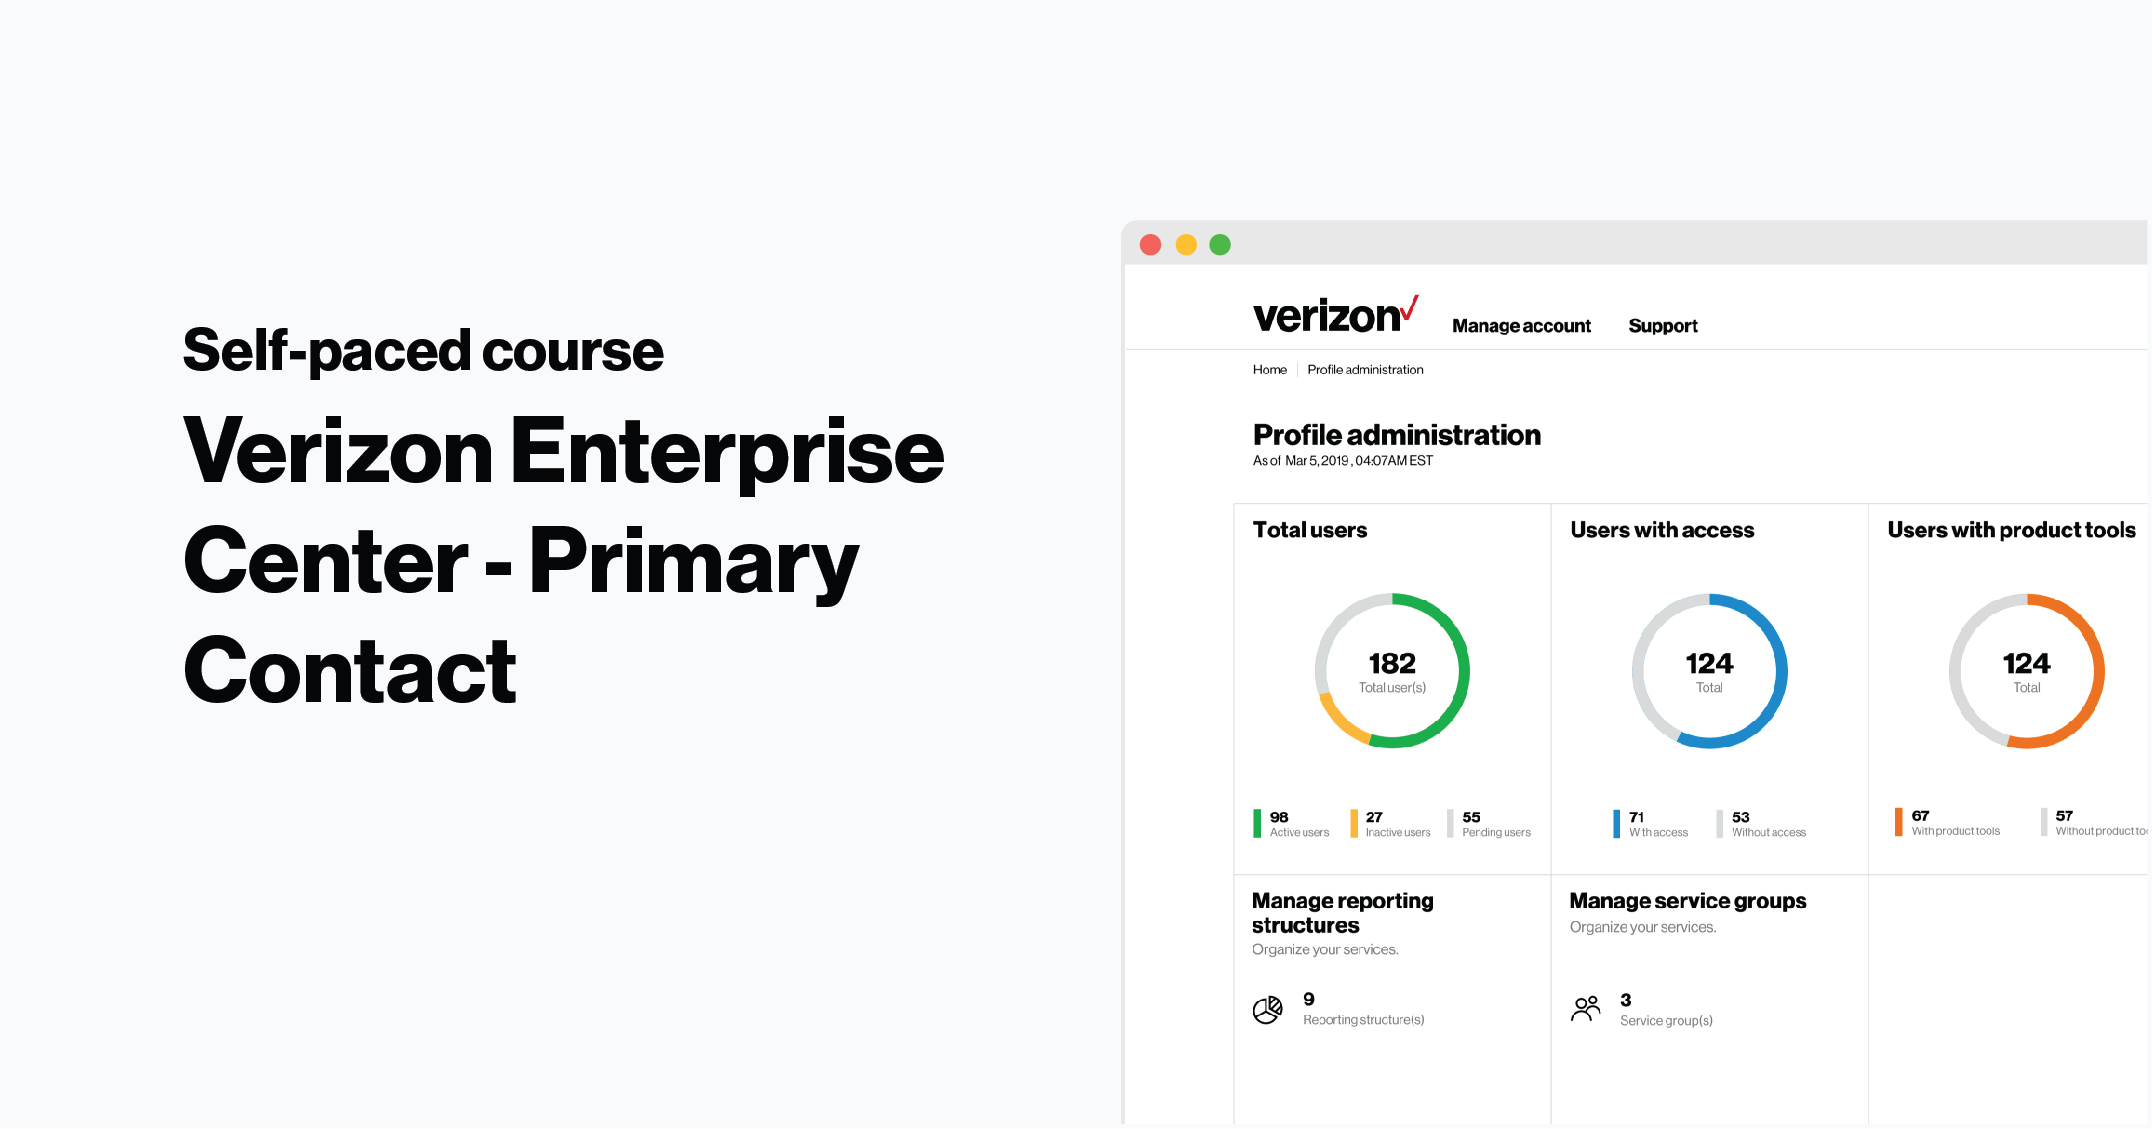
Create service groups
Last updated: 10/03/2022
Creating service groups allows you to organize service IDs into easier to consume containers. You can conveniently group your service IDs based on location, function or importance to quickly view or grant access without having to sift through thousands of individual service IDs.
What types of groups should I make?
While every company is unique, many primary contacts recommend using service groups to:
- Group all of your business’s critical functions so you can easily ensure they’re operating properly
- Group all of your service IDs in a specific region - i.e. all of your sites in the Northeast
- Group all of your service IDs for a specific function - i.e. all of your security services
What can I do with a group?
- Use a service group to easily filter your inventory. From your inventory, select “View by Service Group” on the left hand side and then select a service group to quickly access all of the associate service IDs
- Use a service group to give a user access to only certain service IDs under a billing account. While one billing account may have dozens of service IDs associated with it, some users won’t need to access every service ID. You can create a service group with only certain service IDs under a billing account, or some from one account and some from another, and then assign it to a user to customize their permissions